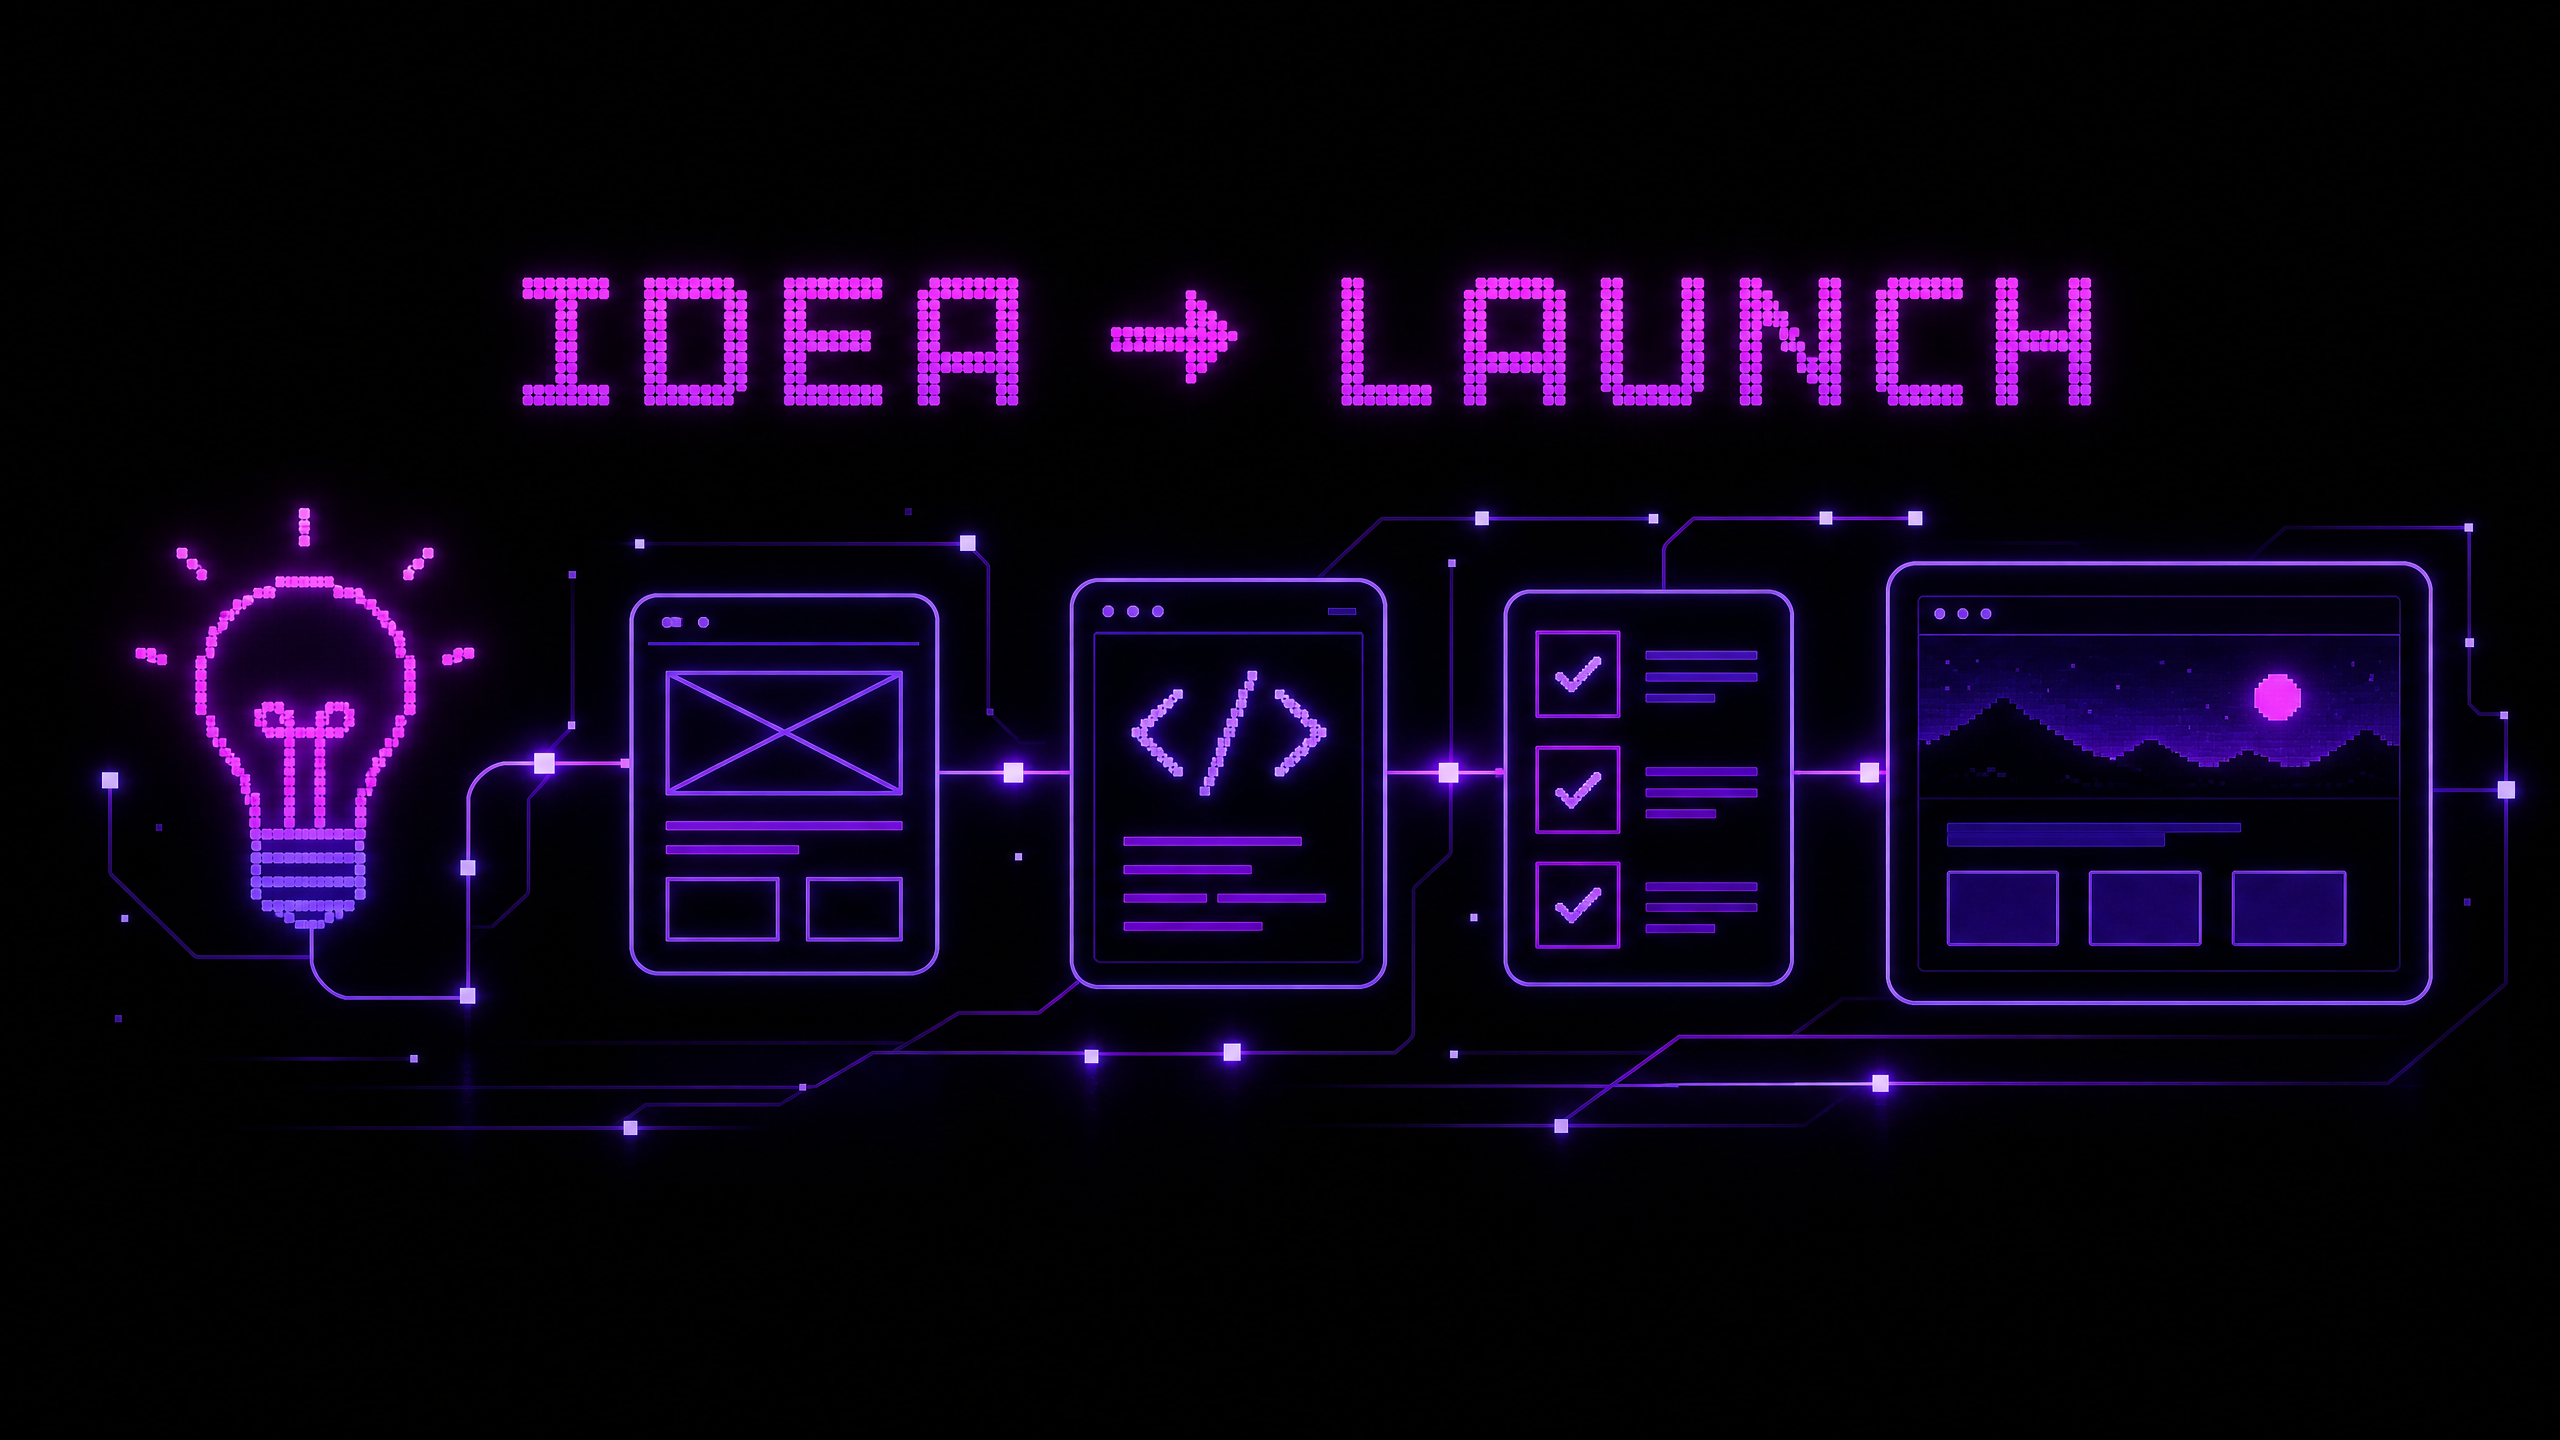
My Process for Turning a Website Idea into a Working Project
A website idea often begins with a simple sentence: “We need a website for this business.” The difficult work starts when that sentence must become a clear set of pages, features, content, technical decisions, and measurable outcomes.
A repeatable process helps turn an idea into a working project without losing sight of the people who will use it. My process is not a rigid formula; different projects require different levels of research and planning. However, the same broad stages help reduce avoidable rework and create clearer communication between the business and the developer.
1. Begin with discovery, not code
The first step is to understand the business and the problem the website should solve. Identify the target audience, the business model, the main offer, competitors, existing content, current frustrations, and the action the visitor should take.
Useful discovery questions include:
- Who is the website for?
- What problem does the business solve?
- What questions do potential customers ask before contacting or buying?
- Which pages or workflows are most important?
- What must the website integrate with?
- Who will update the content after launch?
- How will the business recognize that the website is helping?
The goal is not to collect every possible idea. It is to identify the highest-value user and business tasks so that later decisions have a clear foundation.
2. Convert the idea into requirements
A project becomes easier to estimate when the requirements are written down. Separate functional requirements from non-functional requirements.
Functional requirements describe what the website must do, such as displaying services, accepting a contact form, managing products, authenticating users, filtering a catalog, or connecting to an external service. Non-functional requirements describe qualities and constraints, such as responsiveness, accessibility, performance, security, language support, browser compatibility, maintainability, and hosting requirements.
This distinction prevents a common misunderstanding. “The site should be fast” is a quality requirement, while “customers can submit an inquiry” is a functional requirement. Both matter, but they need different planning and testing methods.
3. Plan the content and information architecture
Before designing individual screens, list the content the site needs. A service business may require Home, About, Services, Projects, FAQs, Blog, and Contact pages. An online store may also require categories, product pages, filters, cart and checkout flows, delivery information, returns, and account pages.
Group pages according to how users expect to find them. Create a simple navigation structure and identify the most important links between pages. This is also the point to plan headings, page titles, content owners, calls to action, and any content that must be written or photographed.
A clear information architecture helps users navigate and gives search engines a clearer understanding of the site. Google’s Search Central guidance emphasizes making content understandable, using crawlable links and descriptive anchor text, and organizing pages so they can be discovered and interpreted.1
4. Create wireframes before visual polish
A wireframe is a simple representation of a page’s content hierarchy and layout. It does not need final colors, animations, or detailed imagery. Its purpose is to answer questions such as:
- What should visitors see first?
- Which information belongs together?
- Where should the primary action appear?
- What happens on a small screen?
- How will errors, empty states, and long content behave?
Wireframes make structural problems cheaper to fix. Moving a section in a simple sketch is easier than rebuilding a finished interface after discovering that the page does not support the visitor’s task.
5. Choose a visual direction that supports the content
Once the structure is clear, define the visual system. Choose typography, colors, spacing, buttons, cards, form controls, image treatment, and interaction patterns. The design should reflect the brand while preserving readability and clear hierarchy.
A distinctive visual style is useful, but decoration should not hide the message. Check color contrast, text size, focus states, responsive behavior, and motion preferences. The W3C accessibility guidelines treat perceivability, operability, understandability, and robustness as central principles for accessible web content.2
6. Select the technical architecture
The technology should follow the requirements. A mostly static marketing site may need a simple frontend and a reliable deployment platform. A database-backed application may require a backend framework, authentication, data modeling, background jobs, and an administrative interface.
At this stage, decide how content will be managed, where data will live, how files will be stored, how environments will be configured, and how the site will be deployed. Consider the project’s maintenance horizon. The fastest technology to prototype is not always the easiest to maintain for several years.
7. Build in small, testable increments
Implement the project in slices that can be reviewed. For example, build the primary layout and navigation first, then the core service or product flow, then forms and supporting pages. Keep content and code organized so that a change in one component does not unexpectedly break unrelated pages.
Use reusable components when the same pattern appears repeatedly, but do not abstract every small element before the design is understood. Good reuse reduces inconsistency; premature abstraction can make simple changes harder.
8. Test responsiveness, accessibility, and performance
Testing should happen during development, not only on the day of launch. Check small, medium, and large viewports. Test long headings, missing images, slow connections, empty results, form errors, keyboard navigation, focus visibility, zoom, and different browsers.
Optimize images and code based on evidence. Google’s web.dev guidance recommends responsive image delivery and correctly sized assets because sending oversized images to smaller devices can waste data and delay important content.3
Use automated tools for repeatable checks, but also perform manual review. A page may pass a basic automated test and still have confusing navigation or an unclear message. Test the complete user journey, not only isolated components.
9. Prepare deployment and launch
A launch checklist should cover domain configuration, HTTPS, environment variables, database migrations, backups, error logging, analytics, metadata, forms, redirects, robots directives, sitemap requirements, and contact details. Confirm that production assets load correctly and that development settings are not exposed.
If the site depends on email, payment, search, or third-party APIs, test those integrations in the production-like environment. Document how to roll back a release and who should be contacted if something fails.
10. Improve after launch
Launch is the beginning of the feedback cycle. Review analytics, search data, support questions, form submissions, and direct feedback. Look for pages where visitors struggle, content that is missing, and tasks that require too many steps.
Make changes deliberately. Record the baseline, identify the hypothesis, implement the change, and review the result after enough time has passed. Do not assume that every change will produce an immediate search or business outcome. Google notes that changes can take different amounts of time to appear in search and that not every change produces a noticeable result.1
What changes for e-commerce projects?
E-commerce projects need extra attention to product data, inventory, variants, pricing, delivery, returns, payments, search, filtering, and customer trust. The process should include realistic product examples and complete purchase flows rather than only a polished homepage.
Test out-of-stock products, invalid coupons, failed payments, unavailable delivery areas, product variants, returns information, and confirmation emails. A store is a system of connected decisions; a beautiful product page cannot compensate for an unreliable checkout experience.
Conclusion
Turning a website idea into a working project is a process of reducing uncertainty. Discover the business problem, define requirements, organize content, sketch the experience, choose an appropriate technical approach, build incrementally, test realistically, and improve after launch.
If you are planning a new website or need help turning an existing idea into a practical digital product, contact Muhammad Rutaab Ali to discuss the project.
Related articles
- How to Build a Fast and Responsive Business Website
- How to Create a Search-Friendly Website Structure
- How I Built My Portfolio Website
- Behind the Build: Lessons from My E-commerce Projects