A Beginner’s Roadmap to Becoming a Web Developer
Becoming a web developer can feel confusing because there are many languages, frameworks, tools, courses, and job titles. The solution is not to learn everything at once. It is to follow a sequence that gives you a foundation, then use projects to connect each new skill to a real outcome.
This roadmap is designed for someone beginning with little or no professional web-development experience. It focuses first on the web platform, then on practical development habits, and finally on specialization. It is not a promise of a guaranteed job or a fixed-time transformation. Your progress will depend on practice, feedback, consistency, and the type of work you want to do.
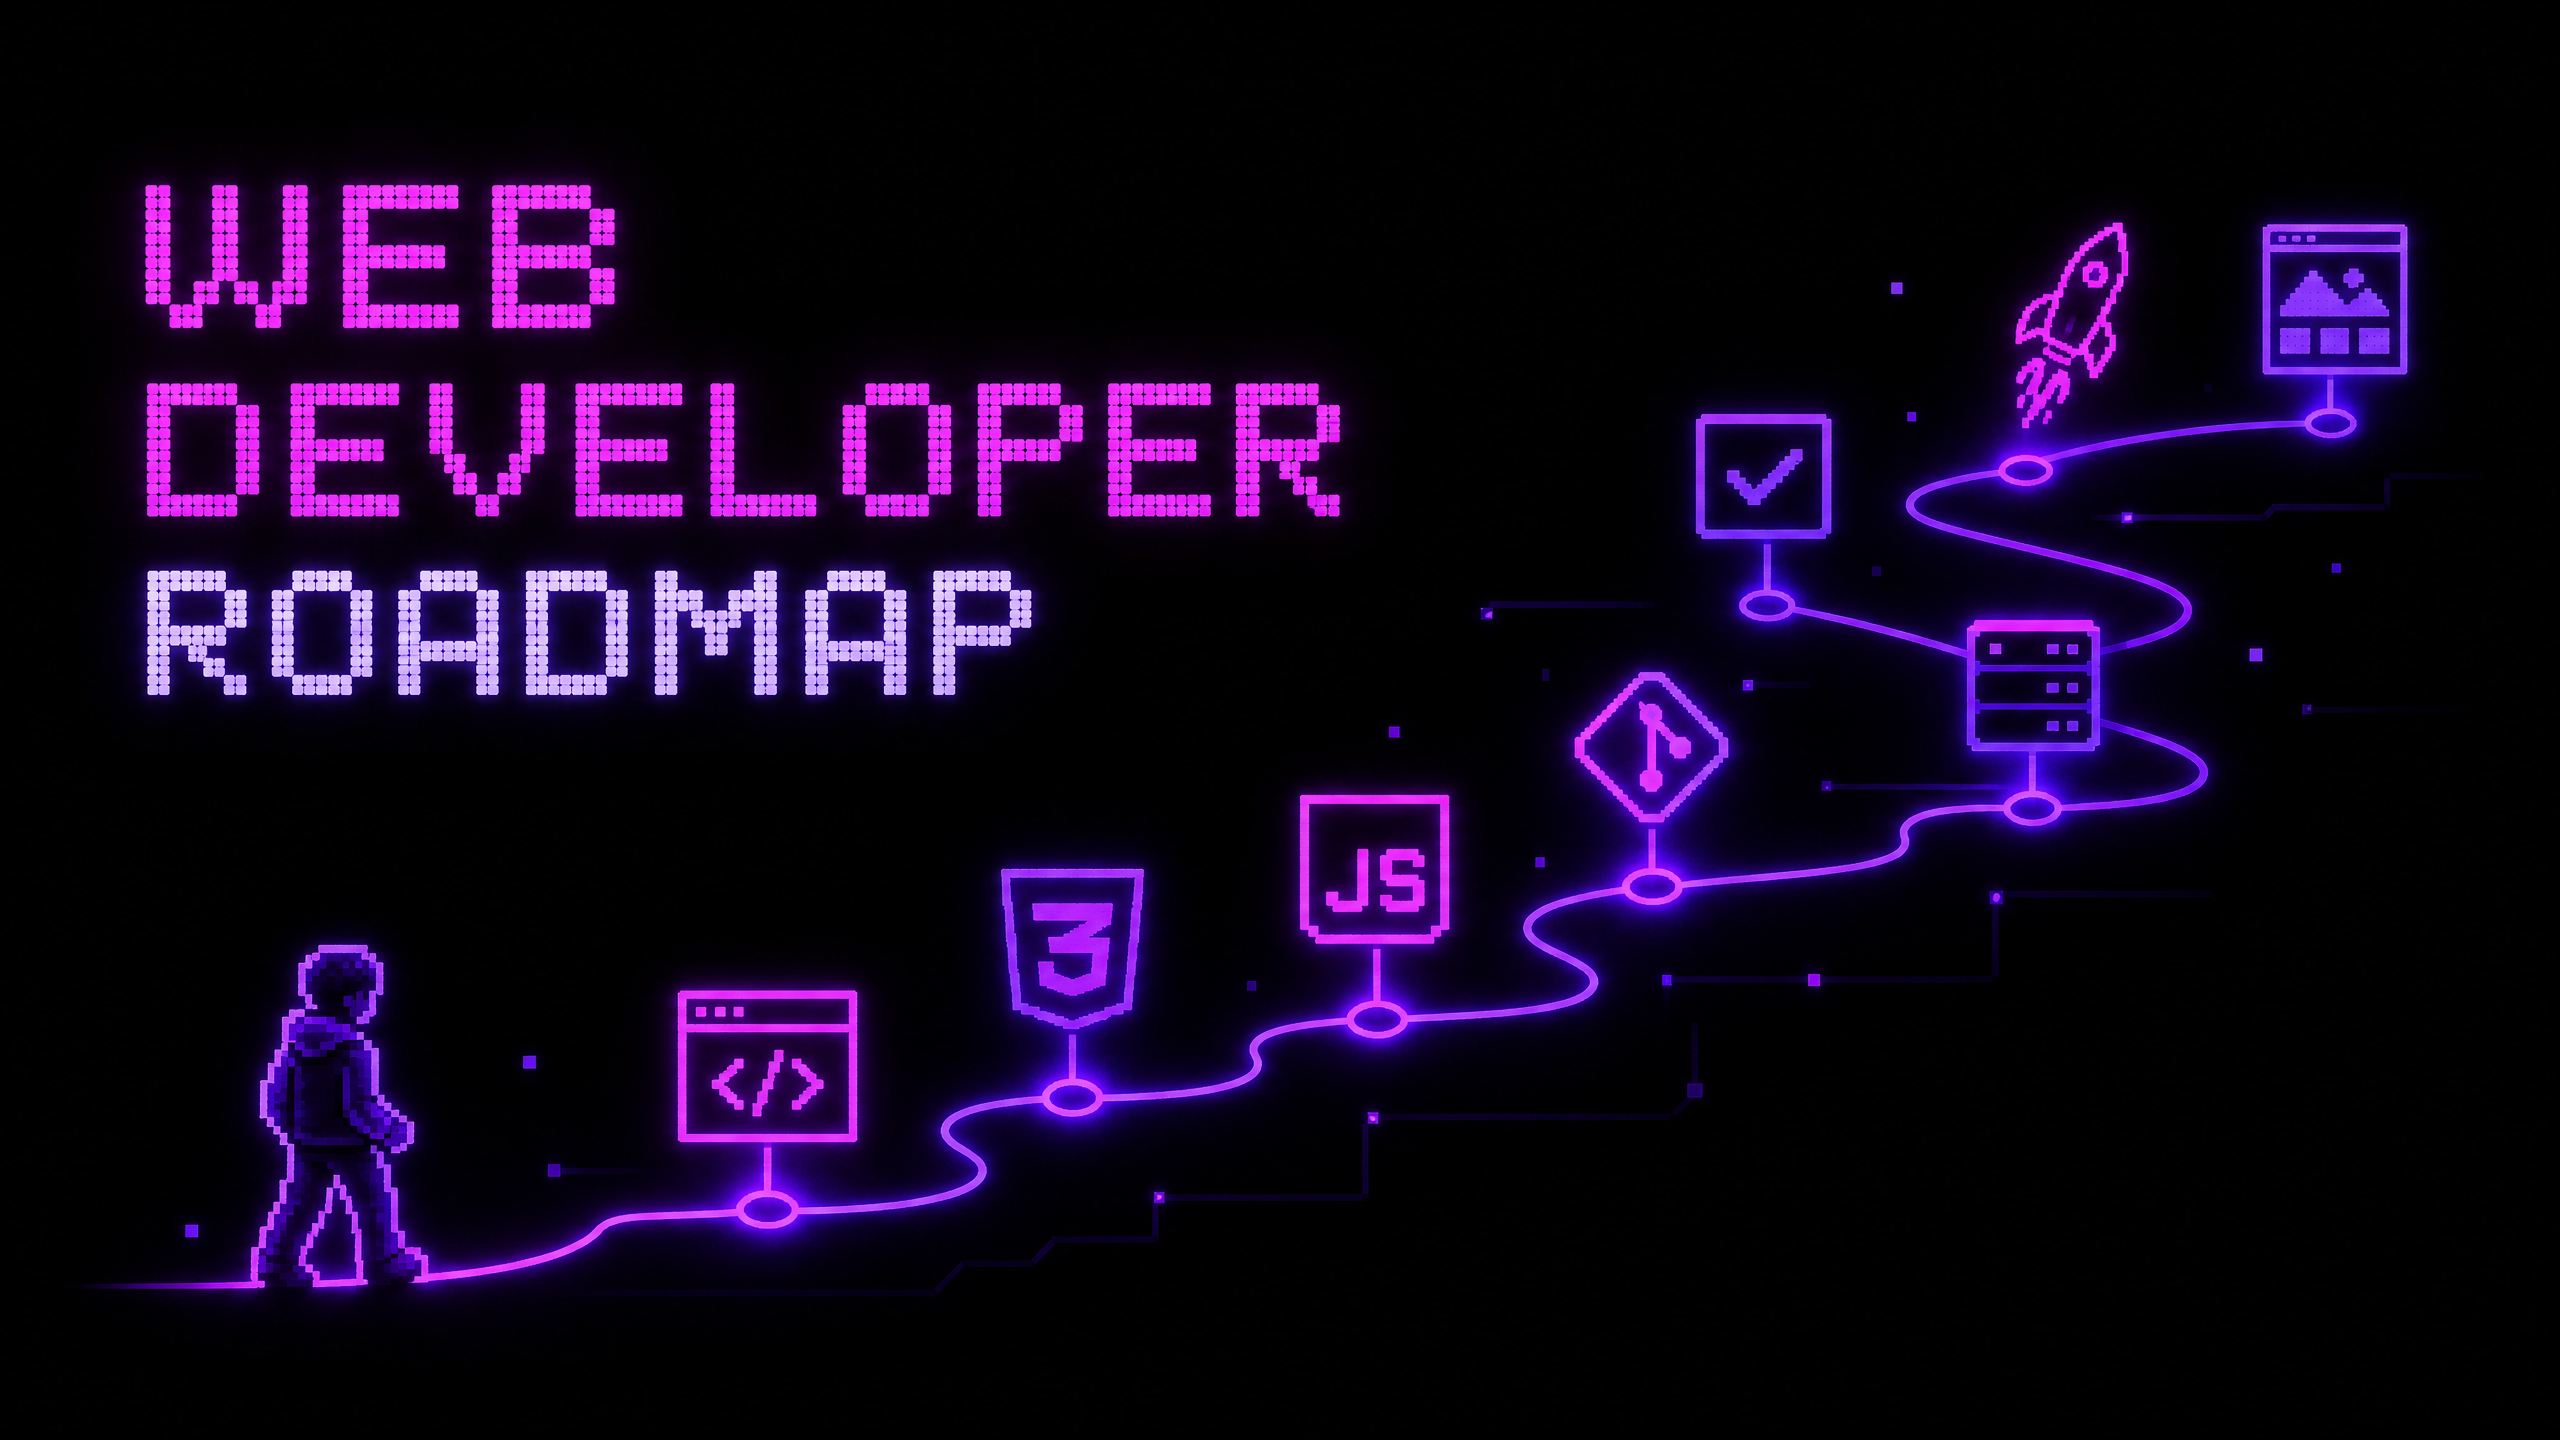
The roadmap at a glance
| Stage | Main skills | Evidence of progress |
|---|---|---|
| 1 | Web basics and tools | You can explain how a browser loads a page |
| 2 | HTML | You can structure accessible content |
| 3 | CSS | You can create responsive layouts |
| 4 | JavaScript | You can add useful interaction |
| 5 | Projects | You can solve complete problems |
| 6 | Git and collaboration | You can track and explain changes |
| 7 | Quality practices | You can test performance, accessibility, and SEO |
| 8 | Specialization | You can choose frontend, backend, full-stack, or e-commerce work |
| 9 | Deployment and portfolio | Other people can use and evaluate your work |
Stage 1: Understand how the web works
Before learning a framework, understand the basic journey from a URL to a visible page. A browser requests resources from a server, receives documents and assets, interprets HTML and CSS, executes JavaScript when needed, and displays an interactive result.
You do not need to become a network engineer first. You should understand the purpose of:
- A domain name
- DNS
- HTTPS
- A web server
- A browser
- HTML documents
- CSS stylesheets
- JavaScript files
- Images, fonts, and other assets
- Requests and responses
- Client-side and server-side code
Set up a code editor, a modern browser, a terminal, and a place to store projects. Learn how to create a folder, open a file, run a local server, and inspect a page in browser DevTools.
The objective at this stage is confidence with the environment. If opening a project, finding a console error, or starting a local server feels mysterious, solve that problem before adding more libraries.
Stage 2: Learn semantic HTML
HTML gives a page structure and meaning. Start with document structure, headings, paragraphs, links, lists, images, tables, forms, and semantic landmarks.
MDN’s learning resource includes a structured HTML module covering document structure, links, lists, images, forms, and related fundamentals.1 Learn to choose an element because it represents the content correctly, not merely because it produces a convenient visual shape.
For example, use a heading for a section title, a button for an action, a link for navigation to another resource, and a label connected to a form control. This improves maintainability, accessibility, and the relationship between the content and its meaning.
Practice by building:
- A personal profile page
- A services page
- A blog article page
- A contact form
- A product-detail page
Do not worry about making these projects visually impressive yet. Focus on valid structure, clear content, and keyboard-accessible interactions.
Stage 3: Learn CSS and responsive layout
CSS controls presentation and layout. Learn selectors, the cascade, inheritance, the box model, colors, typography, spacing, positioning, Flexbox, Grid, and responsive media queries.
Responsive design is not only about shrinking a desktop page. It means deciding how content, navigation, images, forms, and actions should work across different viewport sizes and input methods.
Practice by recreating common layouts:
- A responsive navigation bar
- A two-column article layout that becomes one column
- A product-card grid
- A dashboard section
- A mobile-friendly form
- A portfolio hero section
Use real content while practicing. Placeholder text can hide layout problems because real headings and paragraphs have different lengths.
Stage 4: Learn JavaScript fundamentals
JavaScript adds behavior and logic. Begin with variables, values, operators, functions, conditions, loops, arrays, objects, modules, and error handling. Then learn the DOM, events, forms, asynchronous code, fetch requests, and browser storage where appropriate.
Build small interactions before attempting a large application:
- A menu that opens and closes
- A form with validation feedback
- A filtering interface
- A product quantity control
- A simple search interface
- A small API-powered page
- A calculator or conversion tool
When an interaction fails, learn to inspect the console, check the relevant element, review network requests, and reproduce the problem consistently. Debugging is not a separate talent reserved for senior developers. It is a skill developed through repeated investigation.
Stage 5: Build projects that solve complete problems
Tutorials are useful for introducing concepts, but projects prove whether you can make decisions without being told every step. Choose projects with a clear user and purpose.
A progression might look like this:
| Project level | Example | Skills demonstrated |
|---|---|---|
| Beginner | Personal profile page | HTML, CSS, responsive basics |
| Beginner | To-do list | DOM, events, local state |
| Intermediate | Product catalog | Data display, filtering, responsive UI |
| Intermediate | Blog website | Content structure, routing or templates, SEO basics |
| Advanced beginner | E-commerce prototype | Products, variants, cart logic, forms, trust content |
| Advanced beginner | Full-stack service | Backend, database, authentication, deployment |
For each project, write down the problem, intended user, main features, constraints, and what you learned. That turns a collection of screenshots into evidence of your thinking.
Stage 6: Learn Git and collaboration habits
Git helps you track changes and return to earlier versions. Learn repositories, commits, branches, remotes, pull requests, and merge conflicts. You do not need an advanced branching strategy for every personal project, but you should understand how to make changes traceable.
A simple workflow is:
Plan one change → Make the change → Test it → Review the diff → Commit clearly
Write a README for each meaningful project. Include its purpose, main features, technologies, setup steps, limitations, and a link to the deployed version if available.
Good documentation makes it easier for another person to understand what you built and makes it easier for you to return to the project later.
Stage 7: Add accessibility, performance, testing, and SEO
Quality should not be postponed until after you learn a framework. Build the habit early.
Accessibility
Use semantic HTML, visible focus states, sufficient contrast, labels for form controls, meaningful alternative text, keyboard-accessible controls, and clear error messages. Test without a mouse and inspect the page with browser accessibility tools.
Performance
Learn how images, fonts, scripts, CSS, caching, and server response affect loading. Use responsive images, avoid unnecessary JavaScript, measure representative pages, and investigate the largest user-facing bottleneck.
Testing
Begin with manual testing across viewport sizes and common interactions. Then learn unit, integration, or end-to-end testing as your projects become more complex. Test the behavior that matters to users, such as form submission, filtering, navigation, authentication, and checkout steps.
SEO
Learn descriptive titles, headings, readable URLs, internal links, crawlable navigation, useful content, image alternative text, structured data where appropriate, and indexation basics. SEO is not a keyword-insertion exercise. It is partly about helping search engines and users understand the page.
web.dev provides learning courses covering HTML, CSS, JavaScript, performance, privacy, accessibility, images, design, forms, progressive web apps, and testing.2 Use these topics as an expansion path after learning the fundamentals.
Stage 8: Choose a direction
You do not need to choose a permanent identity immediately. Try enough areas to understand what type of problems you enjoy.
Frontend development
Focus on HTML, CSS, JavaScript, browser APIs, accessibility, responsive design, performance, and a frontend framework when the underlying concepts are clear.
Backend development
Learn HTTP, servers, routing, databases, authentication, validation, security, APIs, caching, and deployment. Languages and frameworks may include PHP and Laravel, JavaScript server environments, Python, Java, or others.
Full-stack development
Combine frontend and backend skills to build complete systems. Do not interpret “full-stack” as needing expert knowledge of every technology. It means you can understand and connect the major parts of an application.
E-commerce development
Learn product data, variants, inventory, categories, product-page UX, payments, shipping, returns, analytics, SEO, and customer support. This direction is valuable for developers who enjoy connecting technical work with business operations.
Choose a framework because it helps you solve the project’s problem, not because a list on social media says it is mandatory. Learn the platform first, then use frameworks to improve productivity and structure.
Stage 9: Deploy real projects
A project is more useful when other people can access it. Learn domains, HTTPS, environment variables, build commands, logs, redirects, and basic deployment troubleshooting.
Vercel’s GitHub documentation describes automatic deployments, preview deployment URLs, and production-domain updates. Pull requests can receive unique preview URLs, allowing changes to be tested before production.3
Use a preview-based workflow:
- Push a focused change.
- Open the preview deployment.
- Test the page on desktop and mobile.
- Check links, forms, images, metadata, and console output.
- Ask someone else to use the main flow.
- Fix issues before promoting the change.
A deployment is not the finish line. Monitor the live project and keep a record of improvements.
Stage 10: Build a portfolio that explains your thinking
A portfolio should show more than technology names. For each project, explain:
- The problem or goal
- The intended audience
- Your role
- The important decisions
- The technologies used
- The difficult parts
- What you tested
- What you would improve next
- A link to the live project or repository, when appropriate
One well-explained project is more persuasive than several unconnected screenshots. If a project is a prototype, say so. If you worked with others, explain your contribution accurately.
A realistic weekly learning routine
Consistency is more useful than occasional long sessions. A weekly routine could include:
| Session | Focus |
|---|---|
| 1 | Learn one concept from official documentation |
| 2 | Recreate a small example without copying blindly |
| 3 | Add the concept to a personal project |
| 4 | Debug or test the result |
| 5 | Write notes and commit the change |
| 6 | Review another project or request feedback |
Adjust the schedule to your circumstances. The important part is the loop: learn, build, test, explain, and improve.
Mistakes to avoid
Learning too many frameworks too early
Frameworks change. HTML, CSS, JavaScript, HTTP, accessibility, and debugging fundamentals remain useful across projects.
Watching tutorials without building
After learning a concept, close the tutorial and use it in a small project. Struggle is part of learning when it leads to investigation and feedback.
Copying code without understanding the boundaries
Ask what the code does, why it is needed, what assumptions it makes, and how it fails. Rewrite small examples in your own words.
Ignoring accessibility and mobile behavior
A page that works only with a mouse on a wide screen is not a complete web project. Test realistic users and conditions early.
Treating a certificate as a portfolio
Certificates can show completion, but a working project demonstrates decisions, implementation, and communication. Build both knowledge and evidence.
Expecting a fixed timeline
Different learners have different responsibilities, backgrounds, and learning speeds. Use milestones rather than promises: build a page, publish a project, explain a decision, fix a bug, and improve a real flow.
Conclusion
A practical web-development roadmap starts with the web platform and grows through projects. Learn HTML for structure, CSS for responsive presentation, JavaScript for behavior, Git for traceable changes, and quality practices for accessibility, performance, testing, and SEO. Then choose a specialization and deploy work that other people can use.
The goal is not to memorize every tool. It is to become capable of understanding a problem, choosing an appropriate approach, building a solution, testing it, and explaining what you did.
If you are learning web development or need help turning a website idea into a responsive, search-friendly project, contact Muhammad Rutaab Ali to discuss your goals.
Related articles
- How I Built My Portfolio Website
- My Favorite Tools for Web Development and SEO
- How to Build a Fast and Responsive Business Website
- How to Create a Search-Friendly Website Structure